How to create a Project from a Template in Buildmate
Connect a new project to an existing workflow using a template in Buildmate to manage it alongside your other construction jobs. Once created, you get a full list of pre-built tasks, ensuring consistency and accelerated setup time - all in one place.
Prefer a video walkthrough?
Follow along with our video walkthrough below 👇
1. Start a New Project
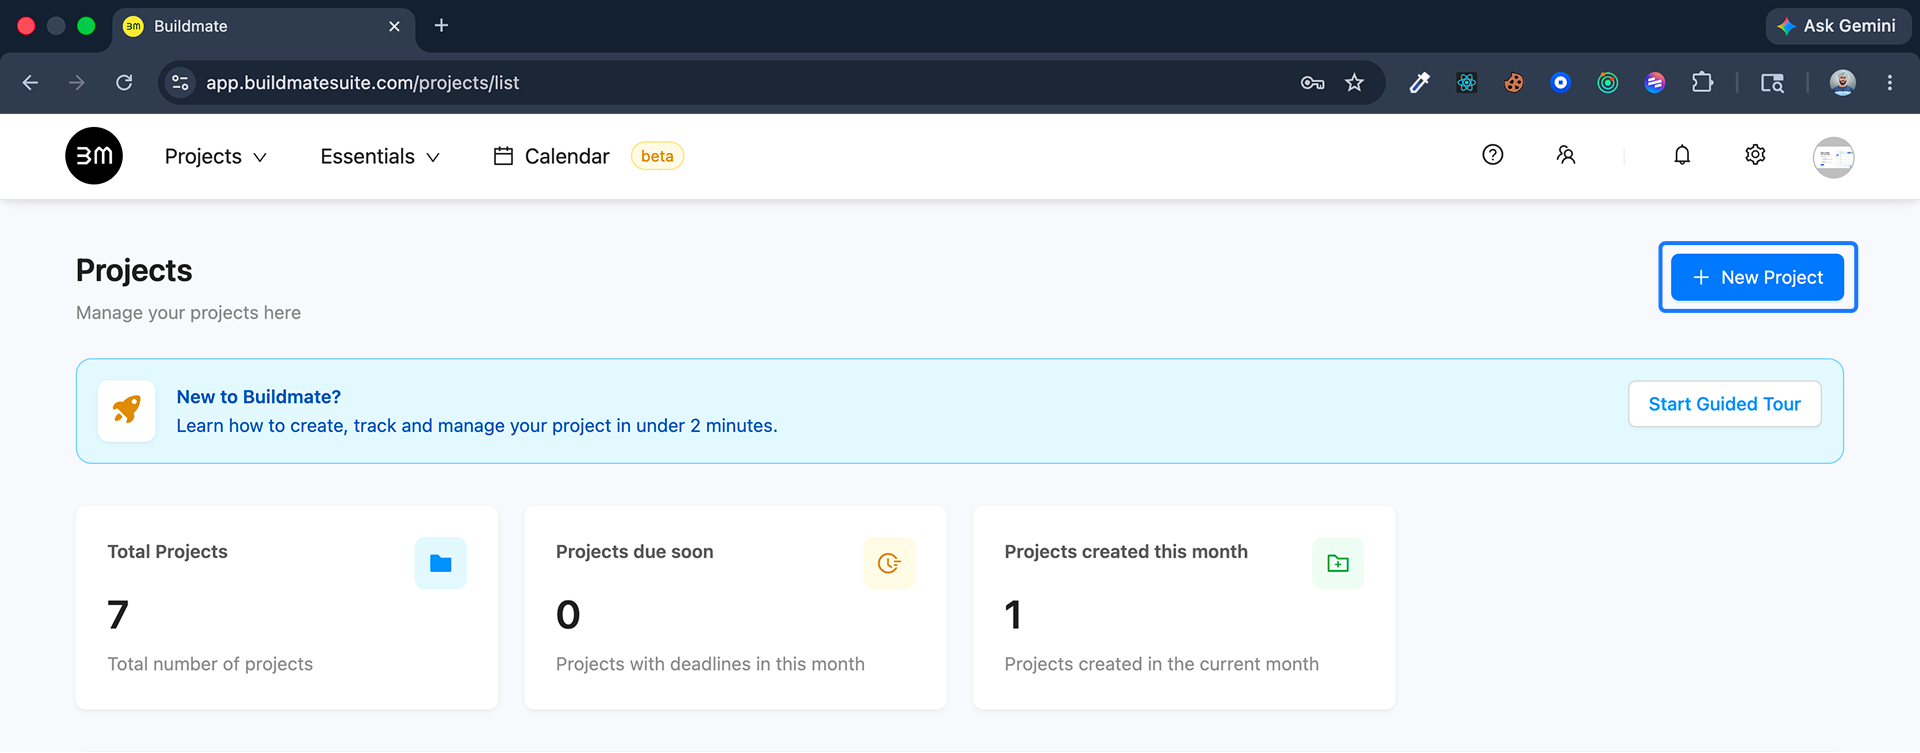
- Go to the Projects module.
- Click the
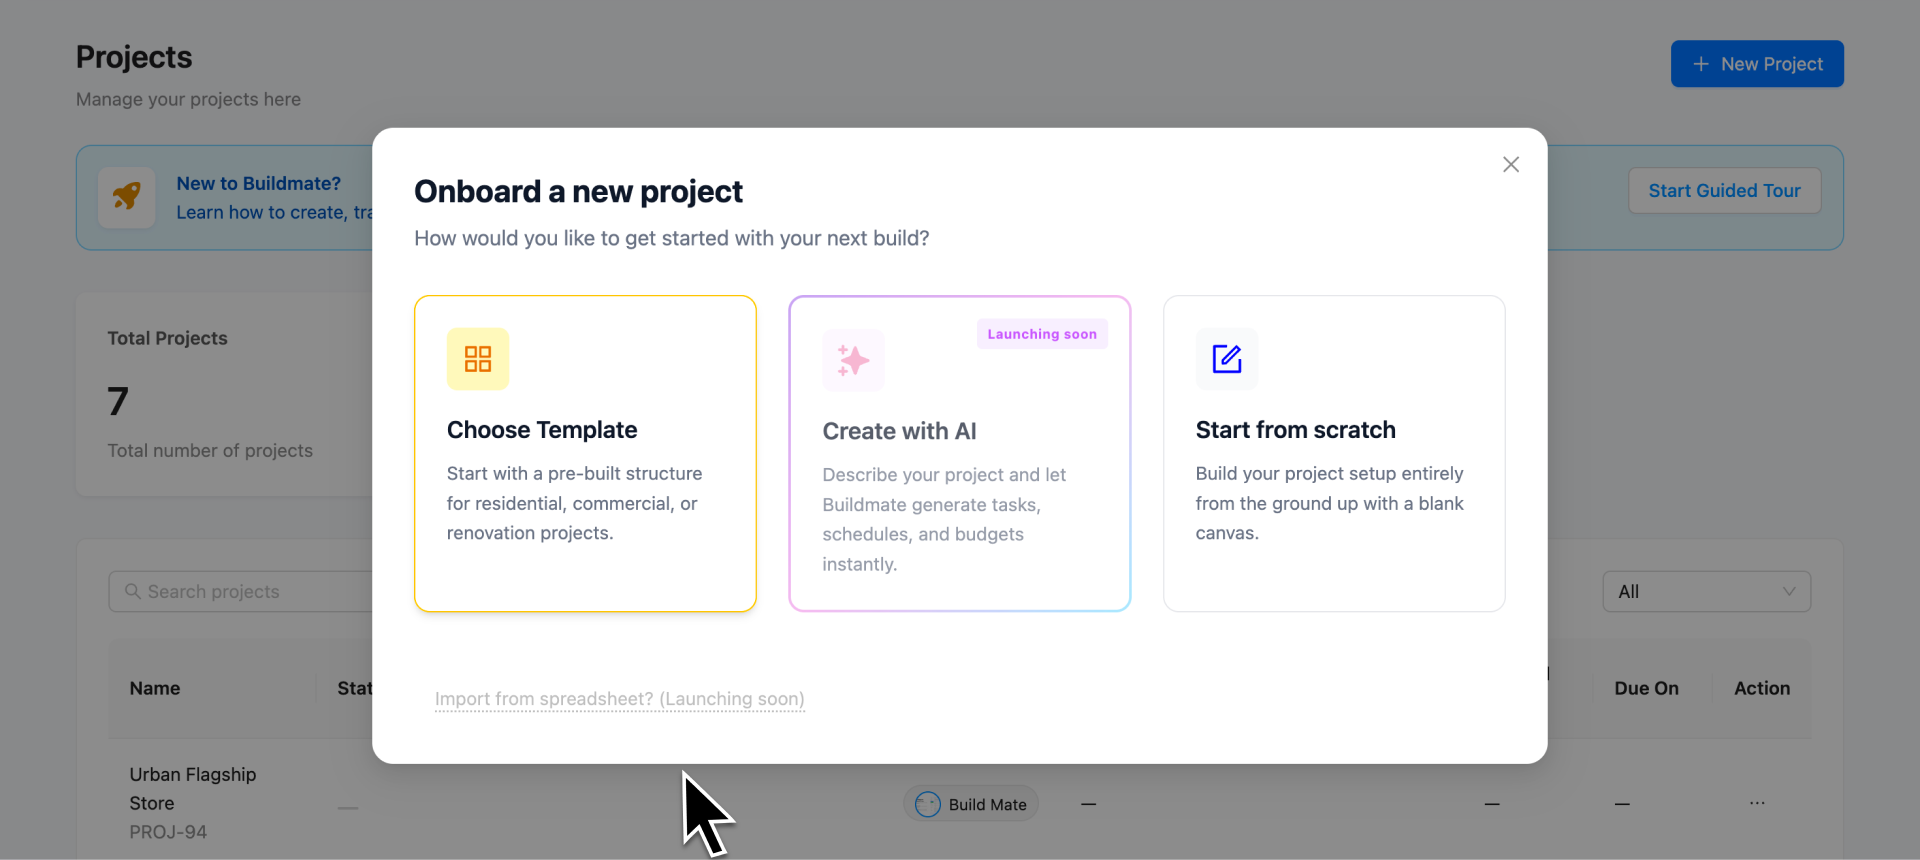
+ Create new projectbuttonORSelect Create new Project from Projects dropdown in the top navigation bar. - An onboarding modal will appear offering three ways to start; select the Choose Template card to proceed with a pre-built structure.
2. Select Your Template
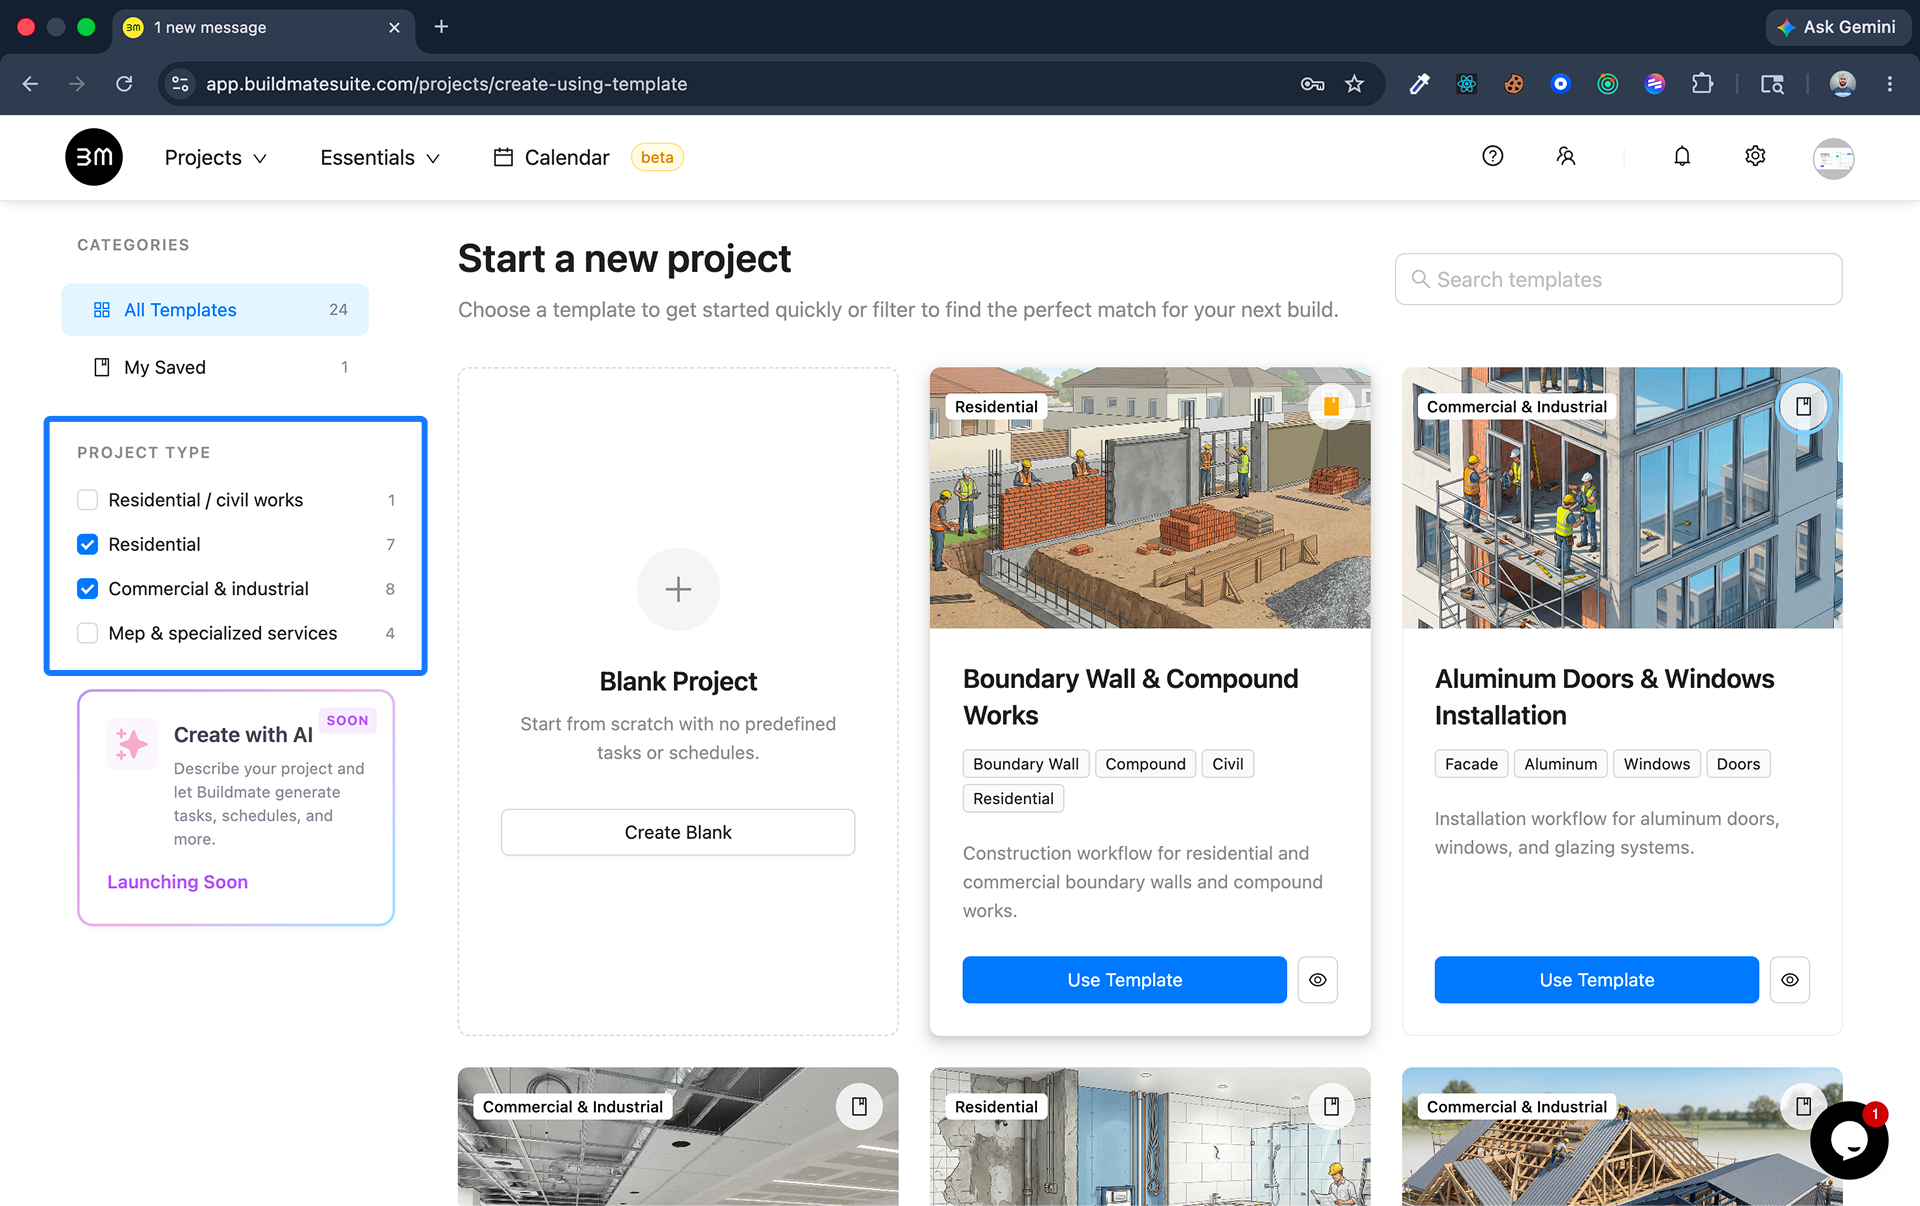
- Use the Project Type sidebar to filter by categories like Residential, Commercial & Industrial, or MEP & Specialized Services.
- Click Use Template on the card that aligns with your project.
Pro Tip: Click the Bookmark icon on any template card to save it. You can quickly access these favorites later from the My Saved tab in the left sidebar.
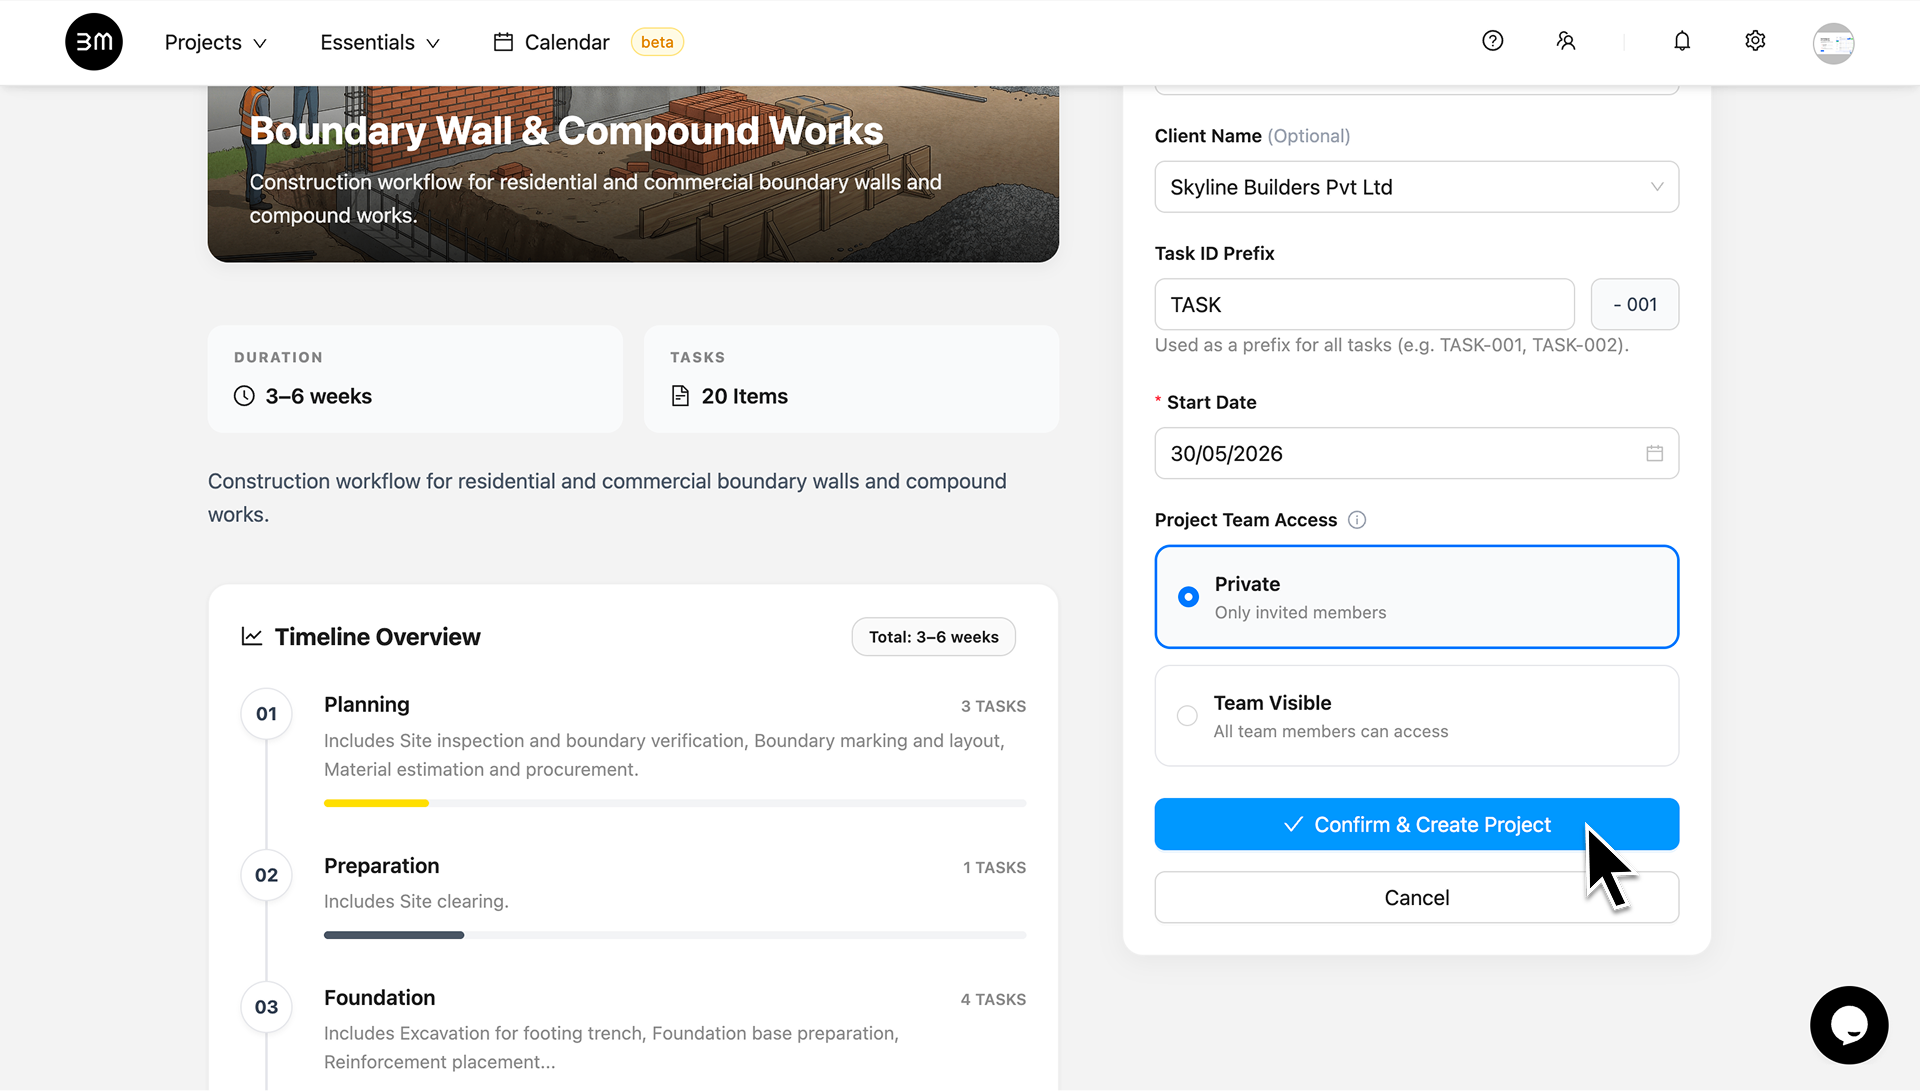
3. Project Setup
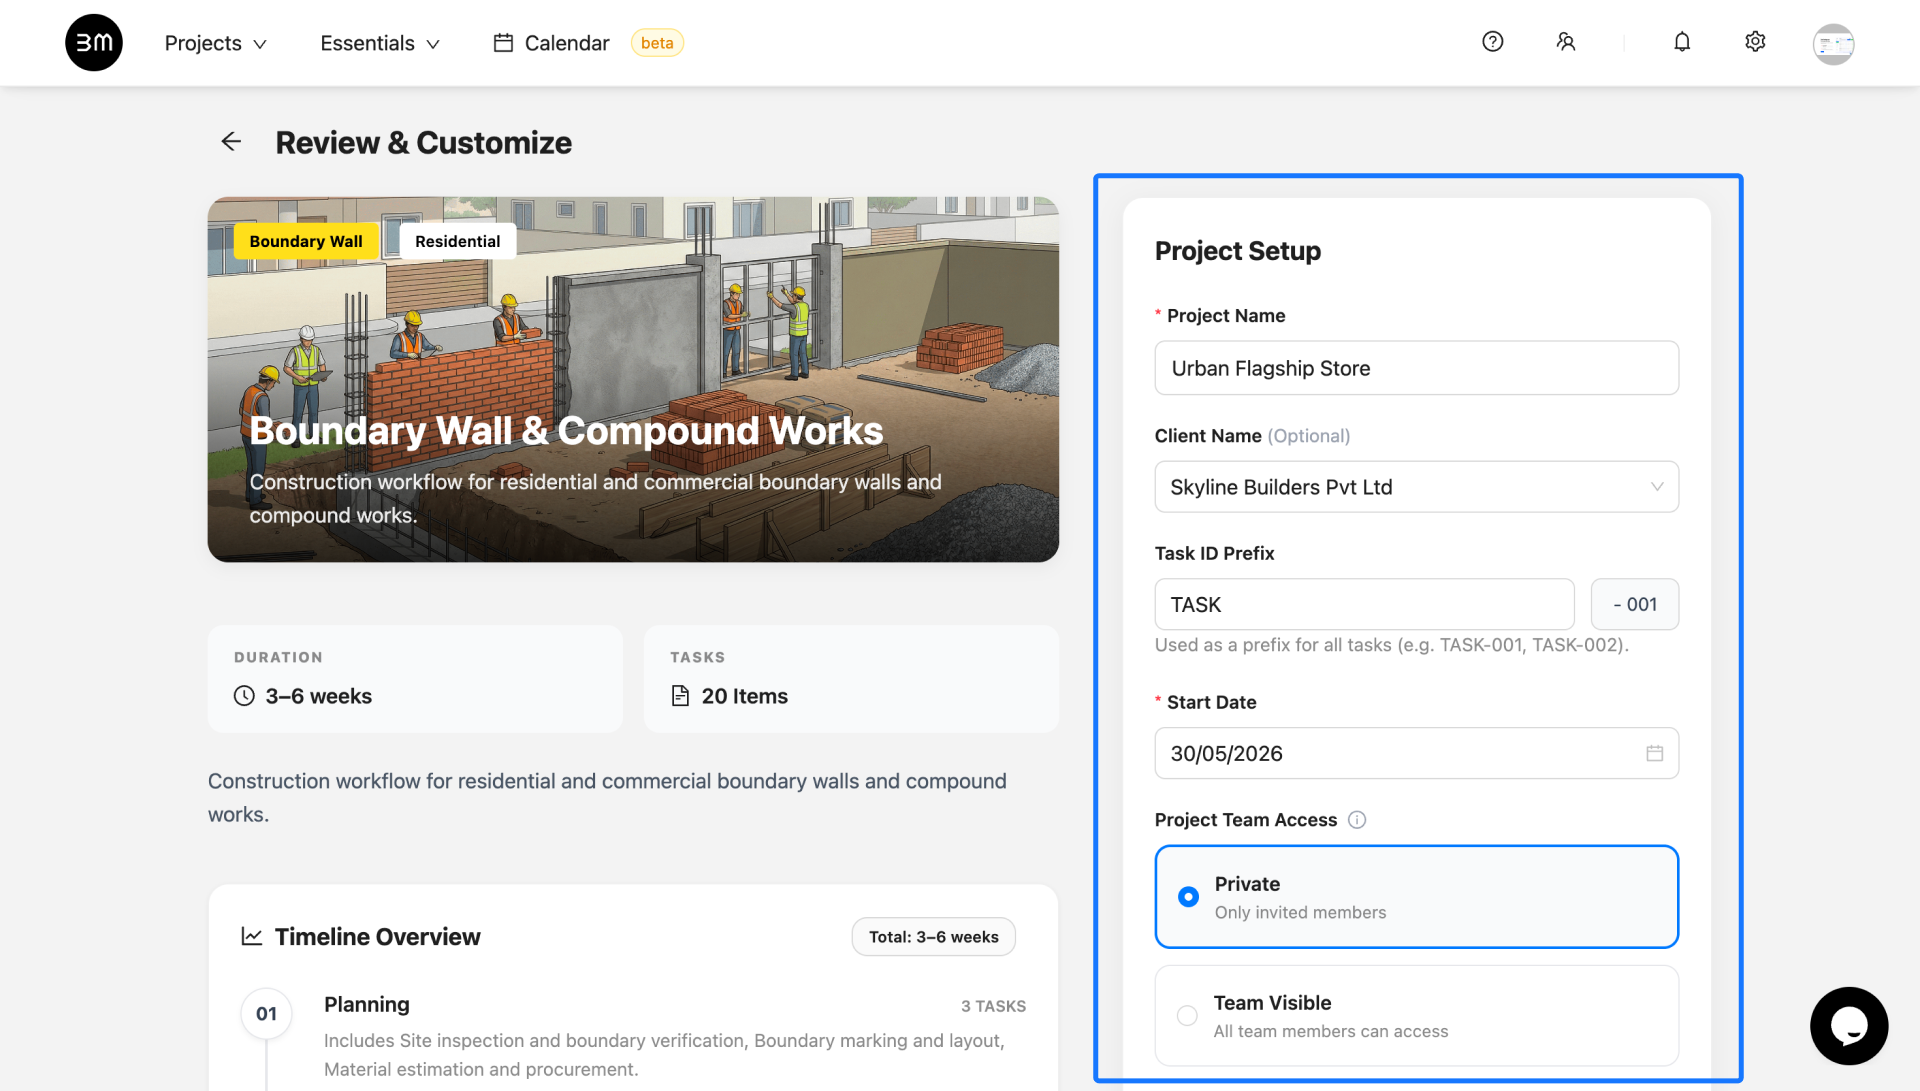
On the Review & Customize screen, enter your specific project information:
- Project Name: Enter a unique title (e.g., “Urban Flagship Store”).
- Client Name: Select or add your client (e.g., “Skyline Builders Pvt Ltd”).
- Task ID Prefix: Set a short code like “TASK” for easy tracking.
- Start Date: Select the starting date of project from the calendar (e.g., “15/01/2026”).
- Project Team Access: Choose Private for restricted access or Team Visible for open collaboration.
Review the Timeline Overview and click Confirm & Create Project.
4. Ready to roll
- You will be redirected to the Projects screen. Open the newly created project from the list.
- Select the “Tasks” tab at the top of the project page.
- The system has automatically populated the project with the entire list of pre-built tasks from your selected template.
Now your project is connected, and you and your team can start assigning and tracking the pre-set tasks immediately.

