How to Import Files from Email in Buildmate
Connect your email attachments directly to your project and task files in Buildmate. Importing files from your inbound email inbox lets you effortlessly organize site photos, contracts, and important documents from clients and suppliers. This seamless process ensures all project-related materials are centralized and available right where you need them.
Prefer a video walkthrough?
Follow along with our video walkthrough below 👇
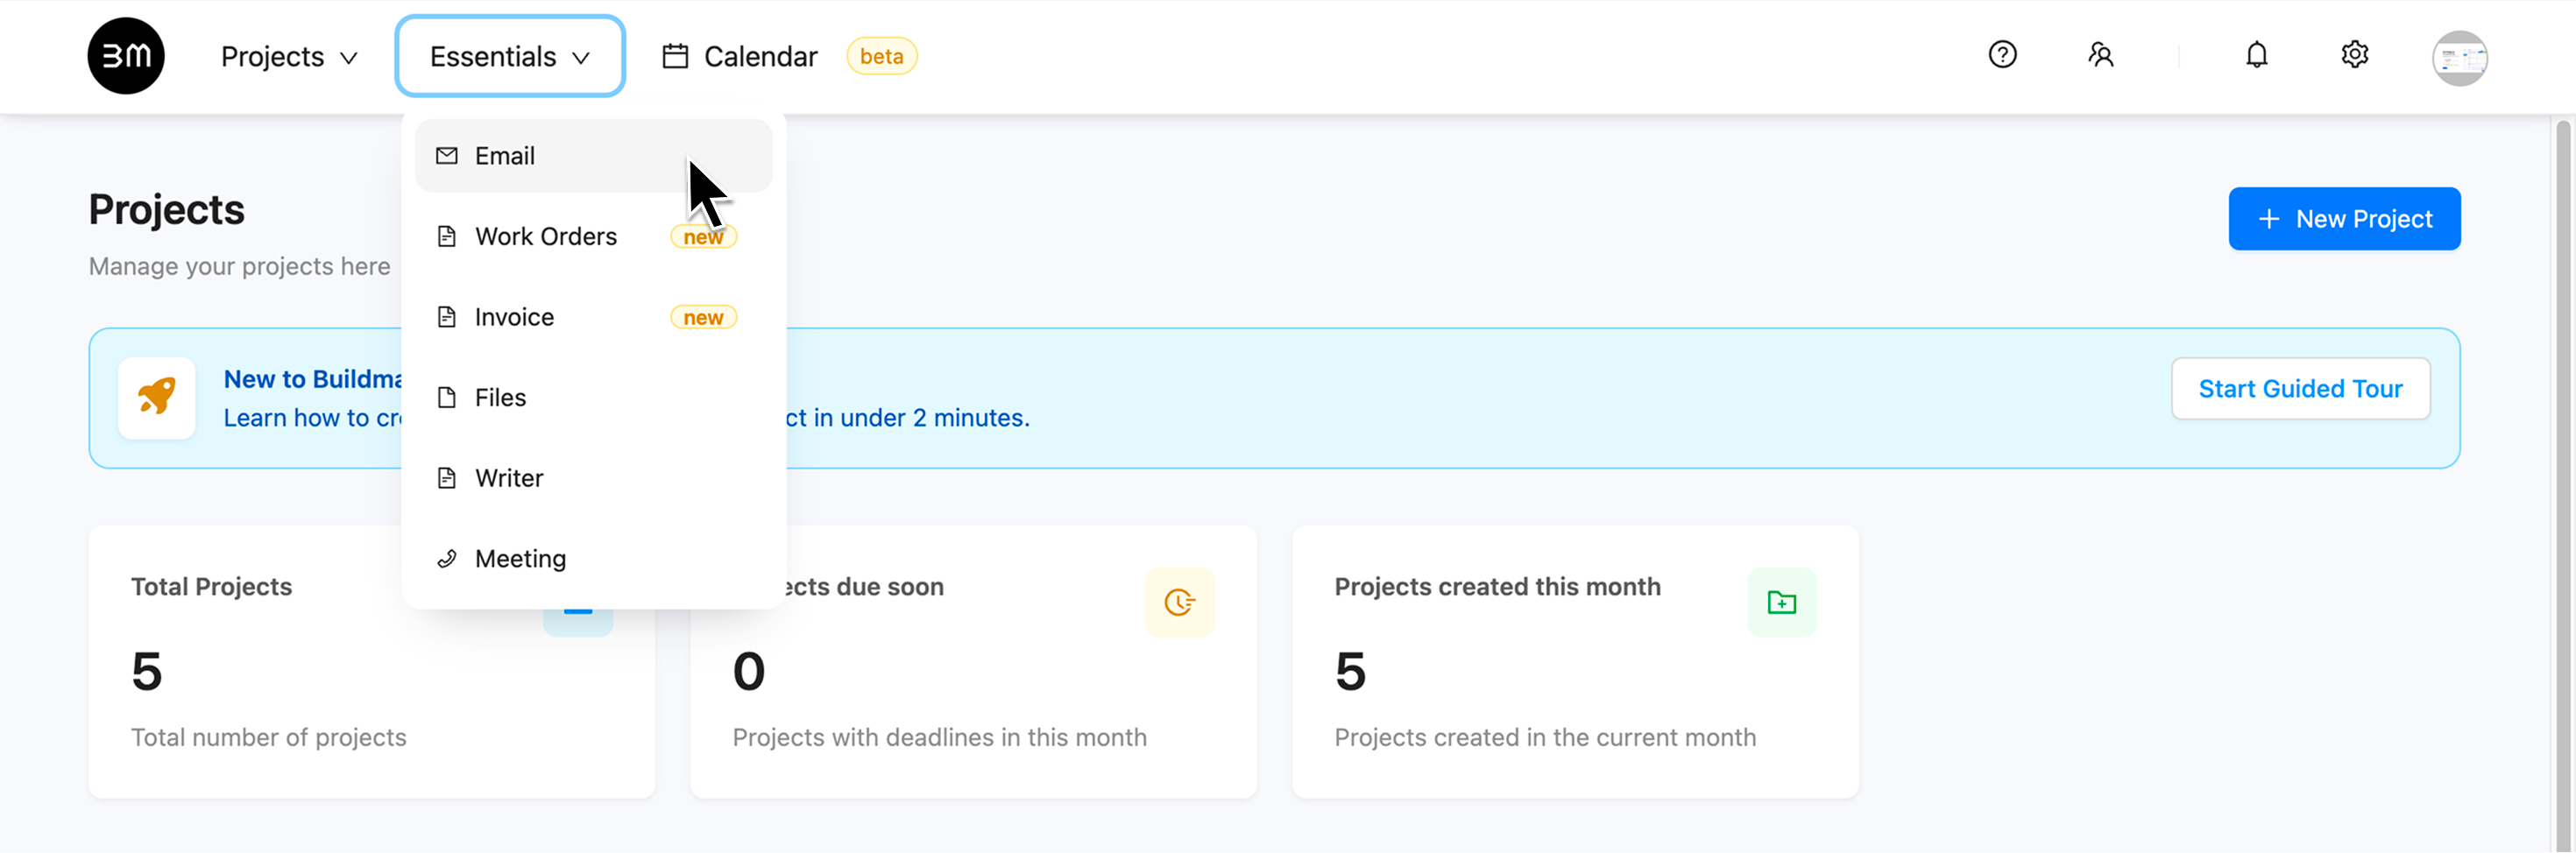
1. Access the Email Dashboard and Select email
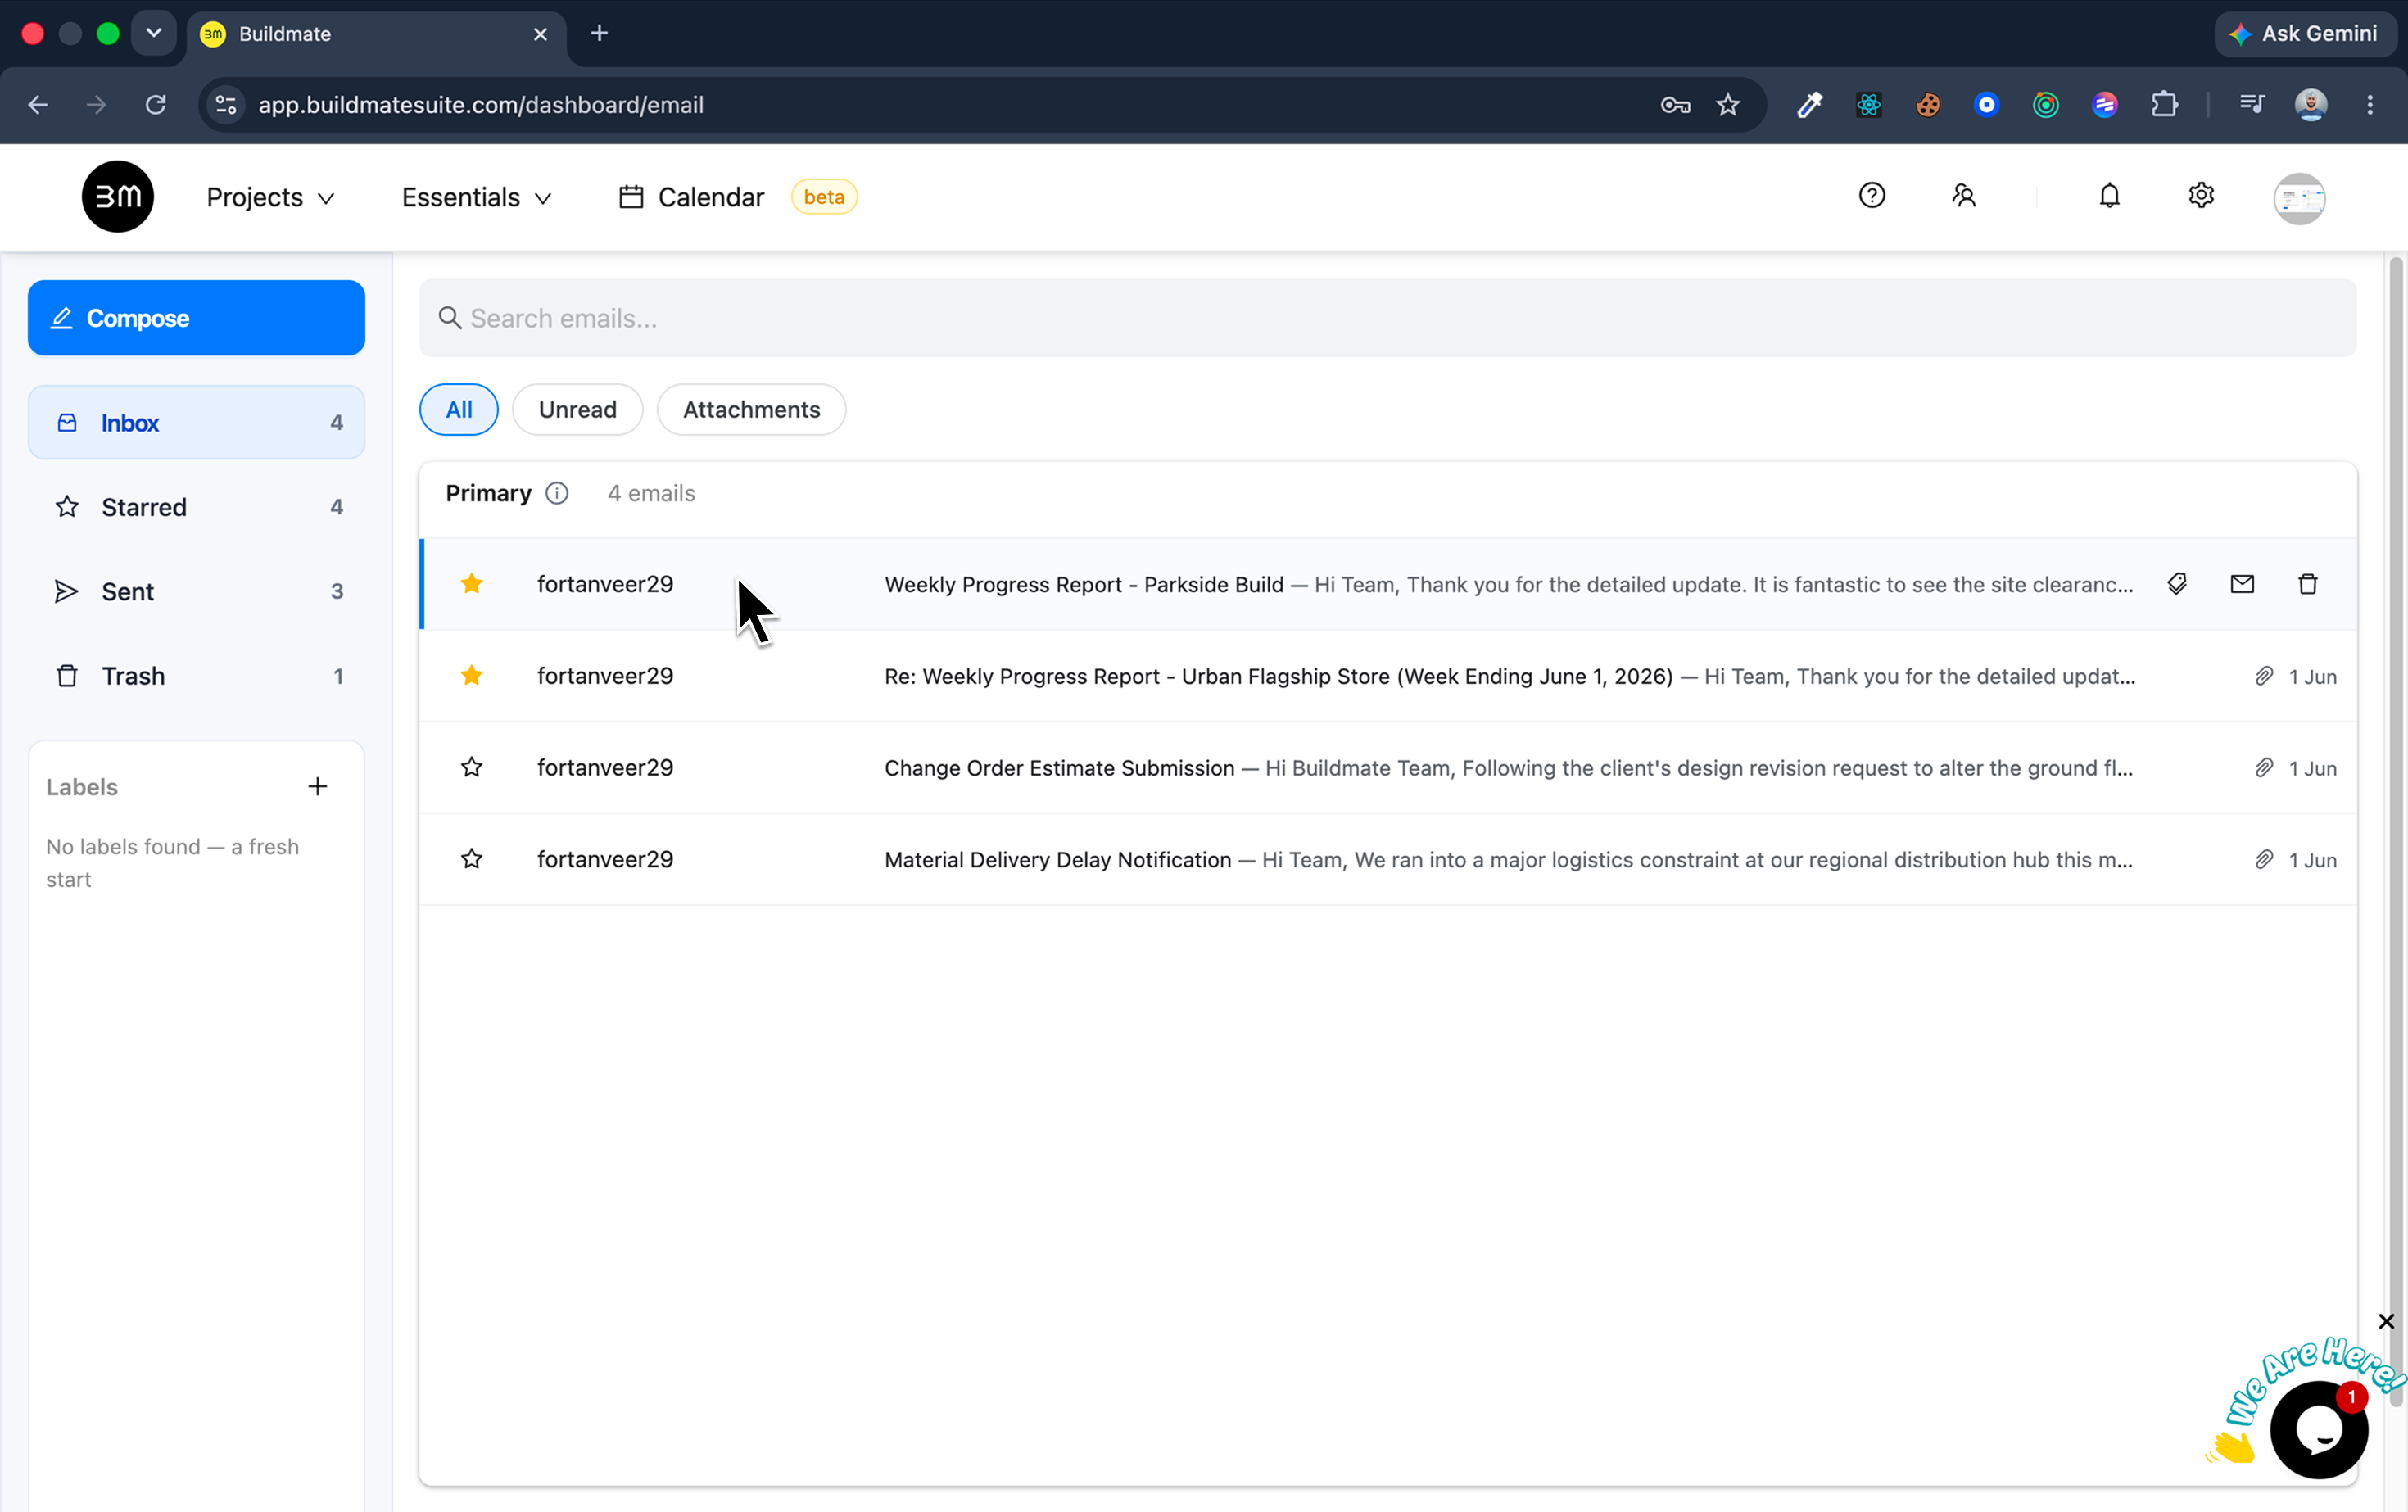
Start by opening your Buildmate email inbox and selecting the source message.
- Navigate to the Essentials dropdown in the top navigation bar and select Email to open your integrated inbox.
- Click on the email that contains the files you wish to import.
2. Initiate the import
Once the email is open, you will initiate the import by interacting directly with the attached file.
- Scroll down to view the attached files at the bottom of the email body.
- Hover over the file you intend to import.
- Click the Import icon (which appears on the file when you hover) to launch the configuration pop-up window.

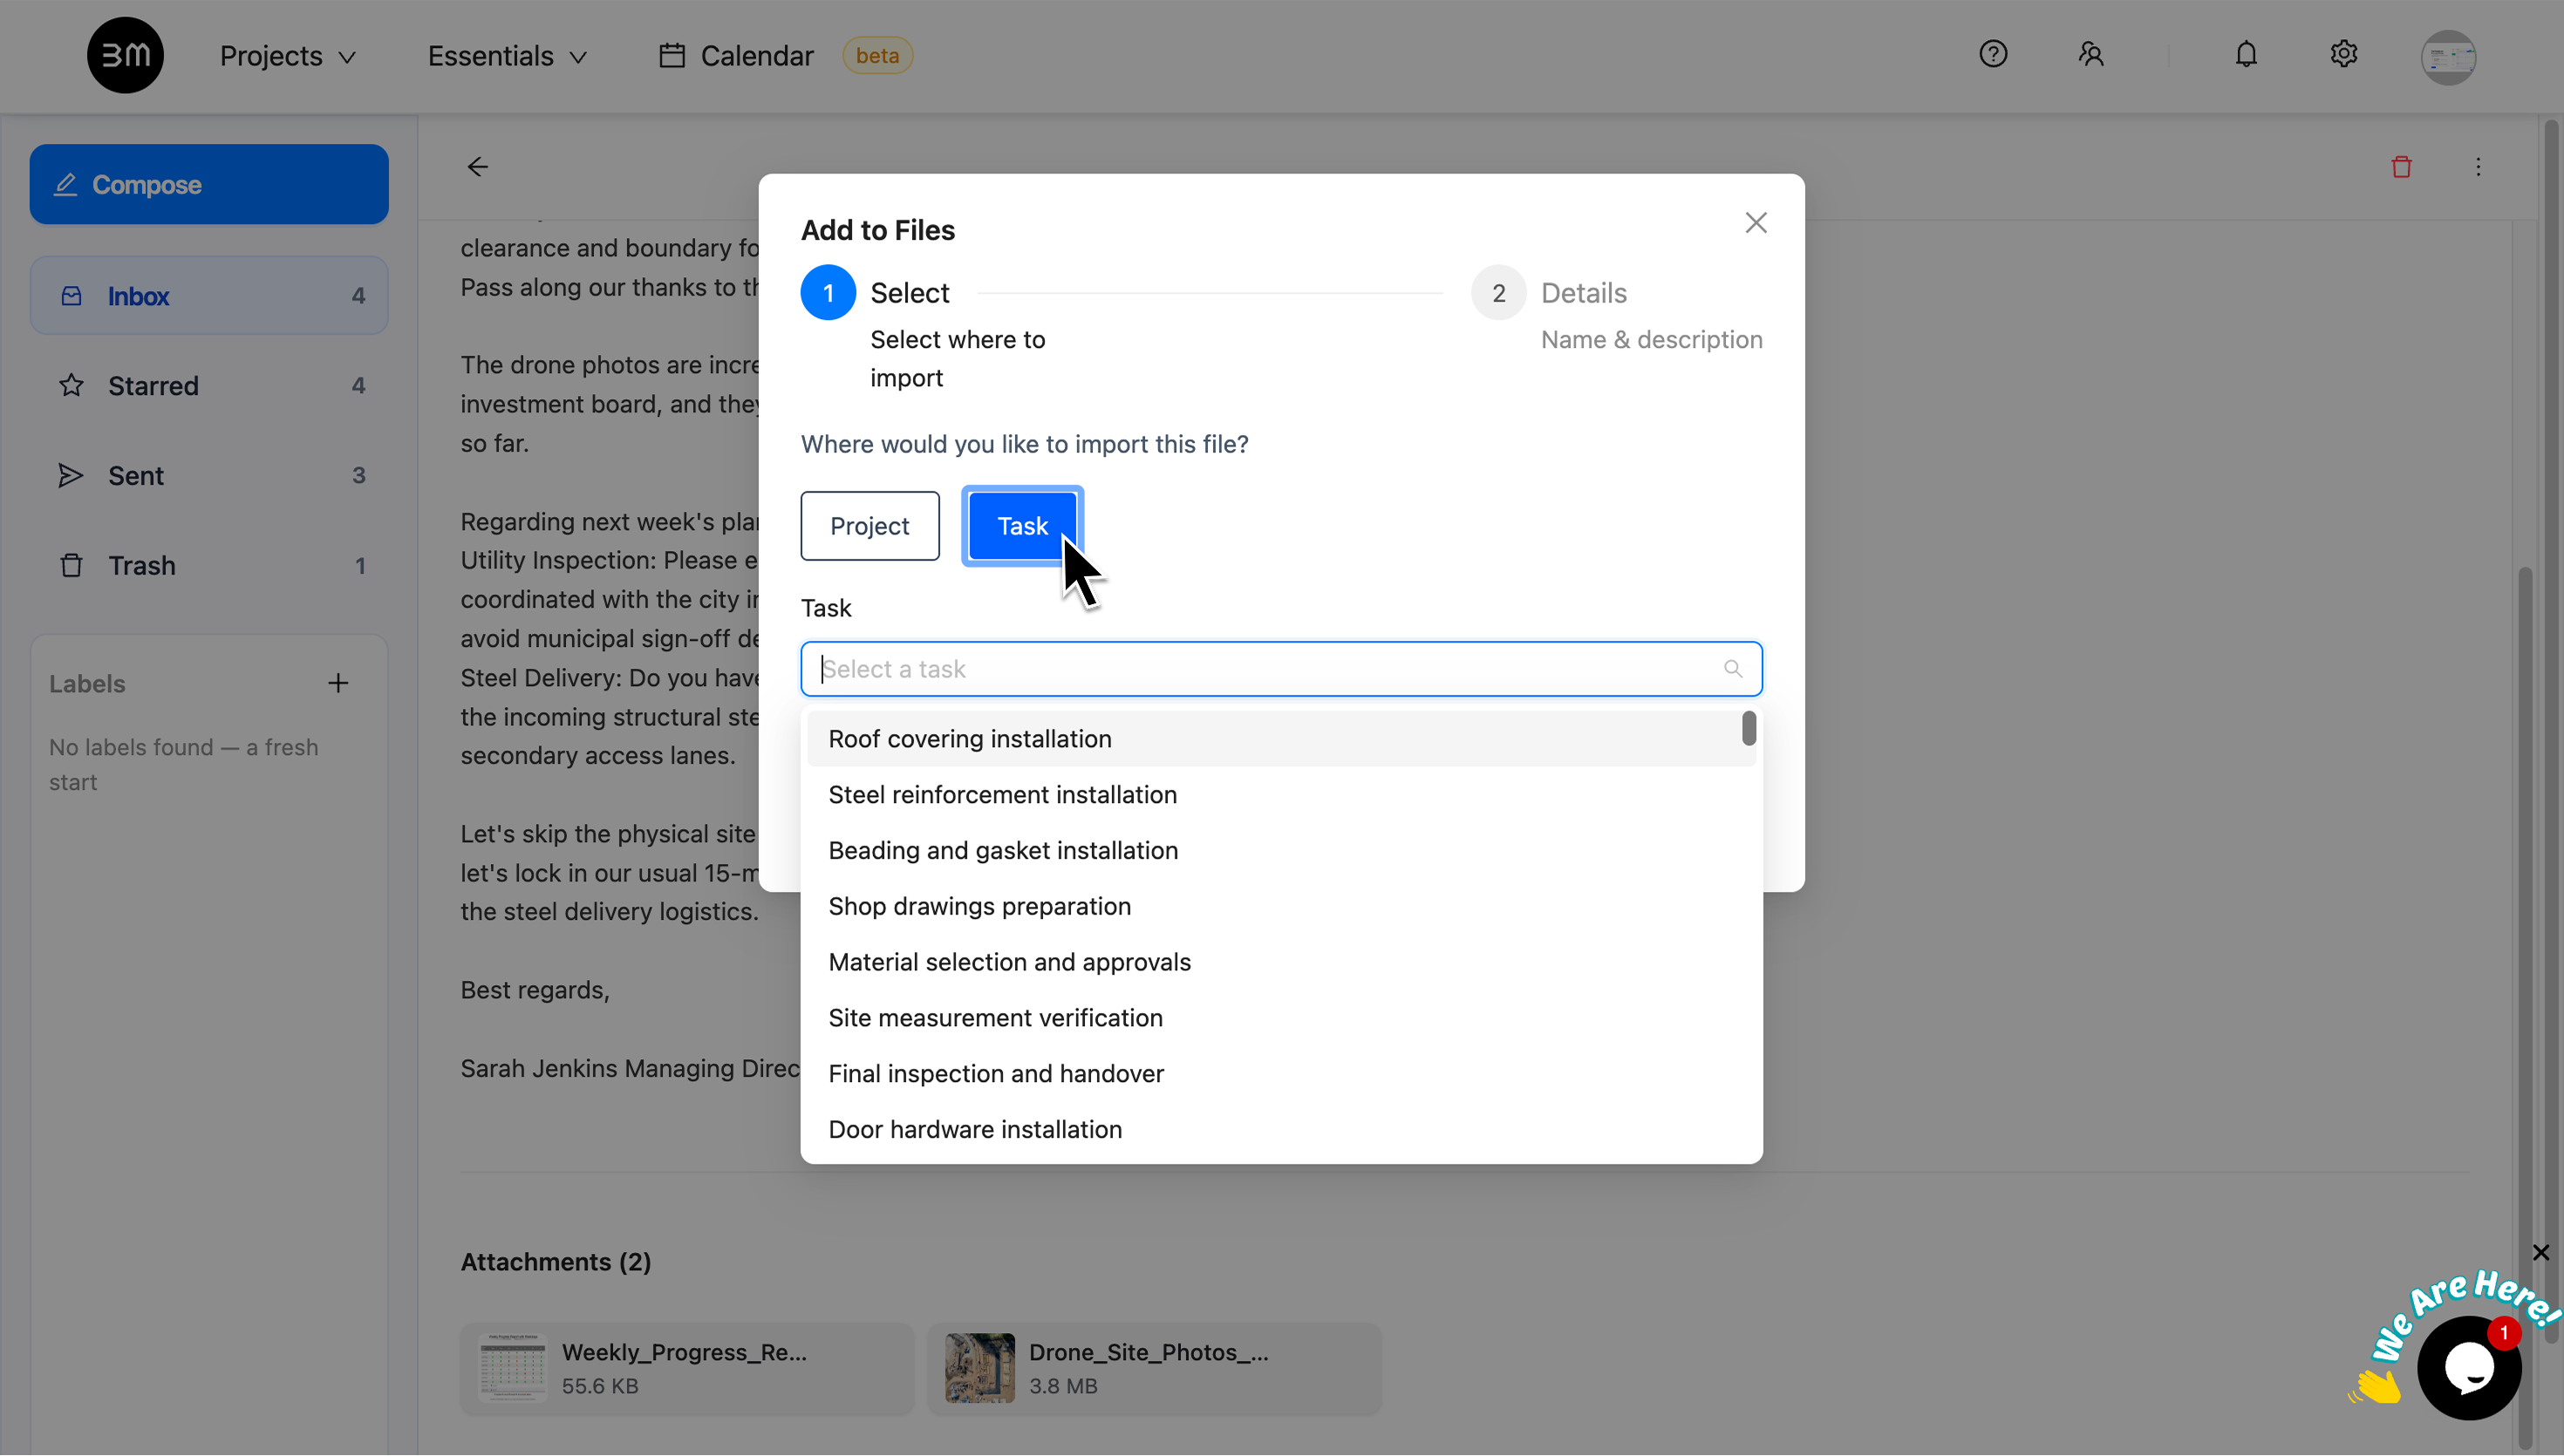
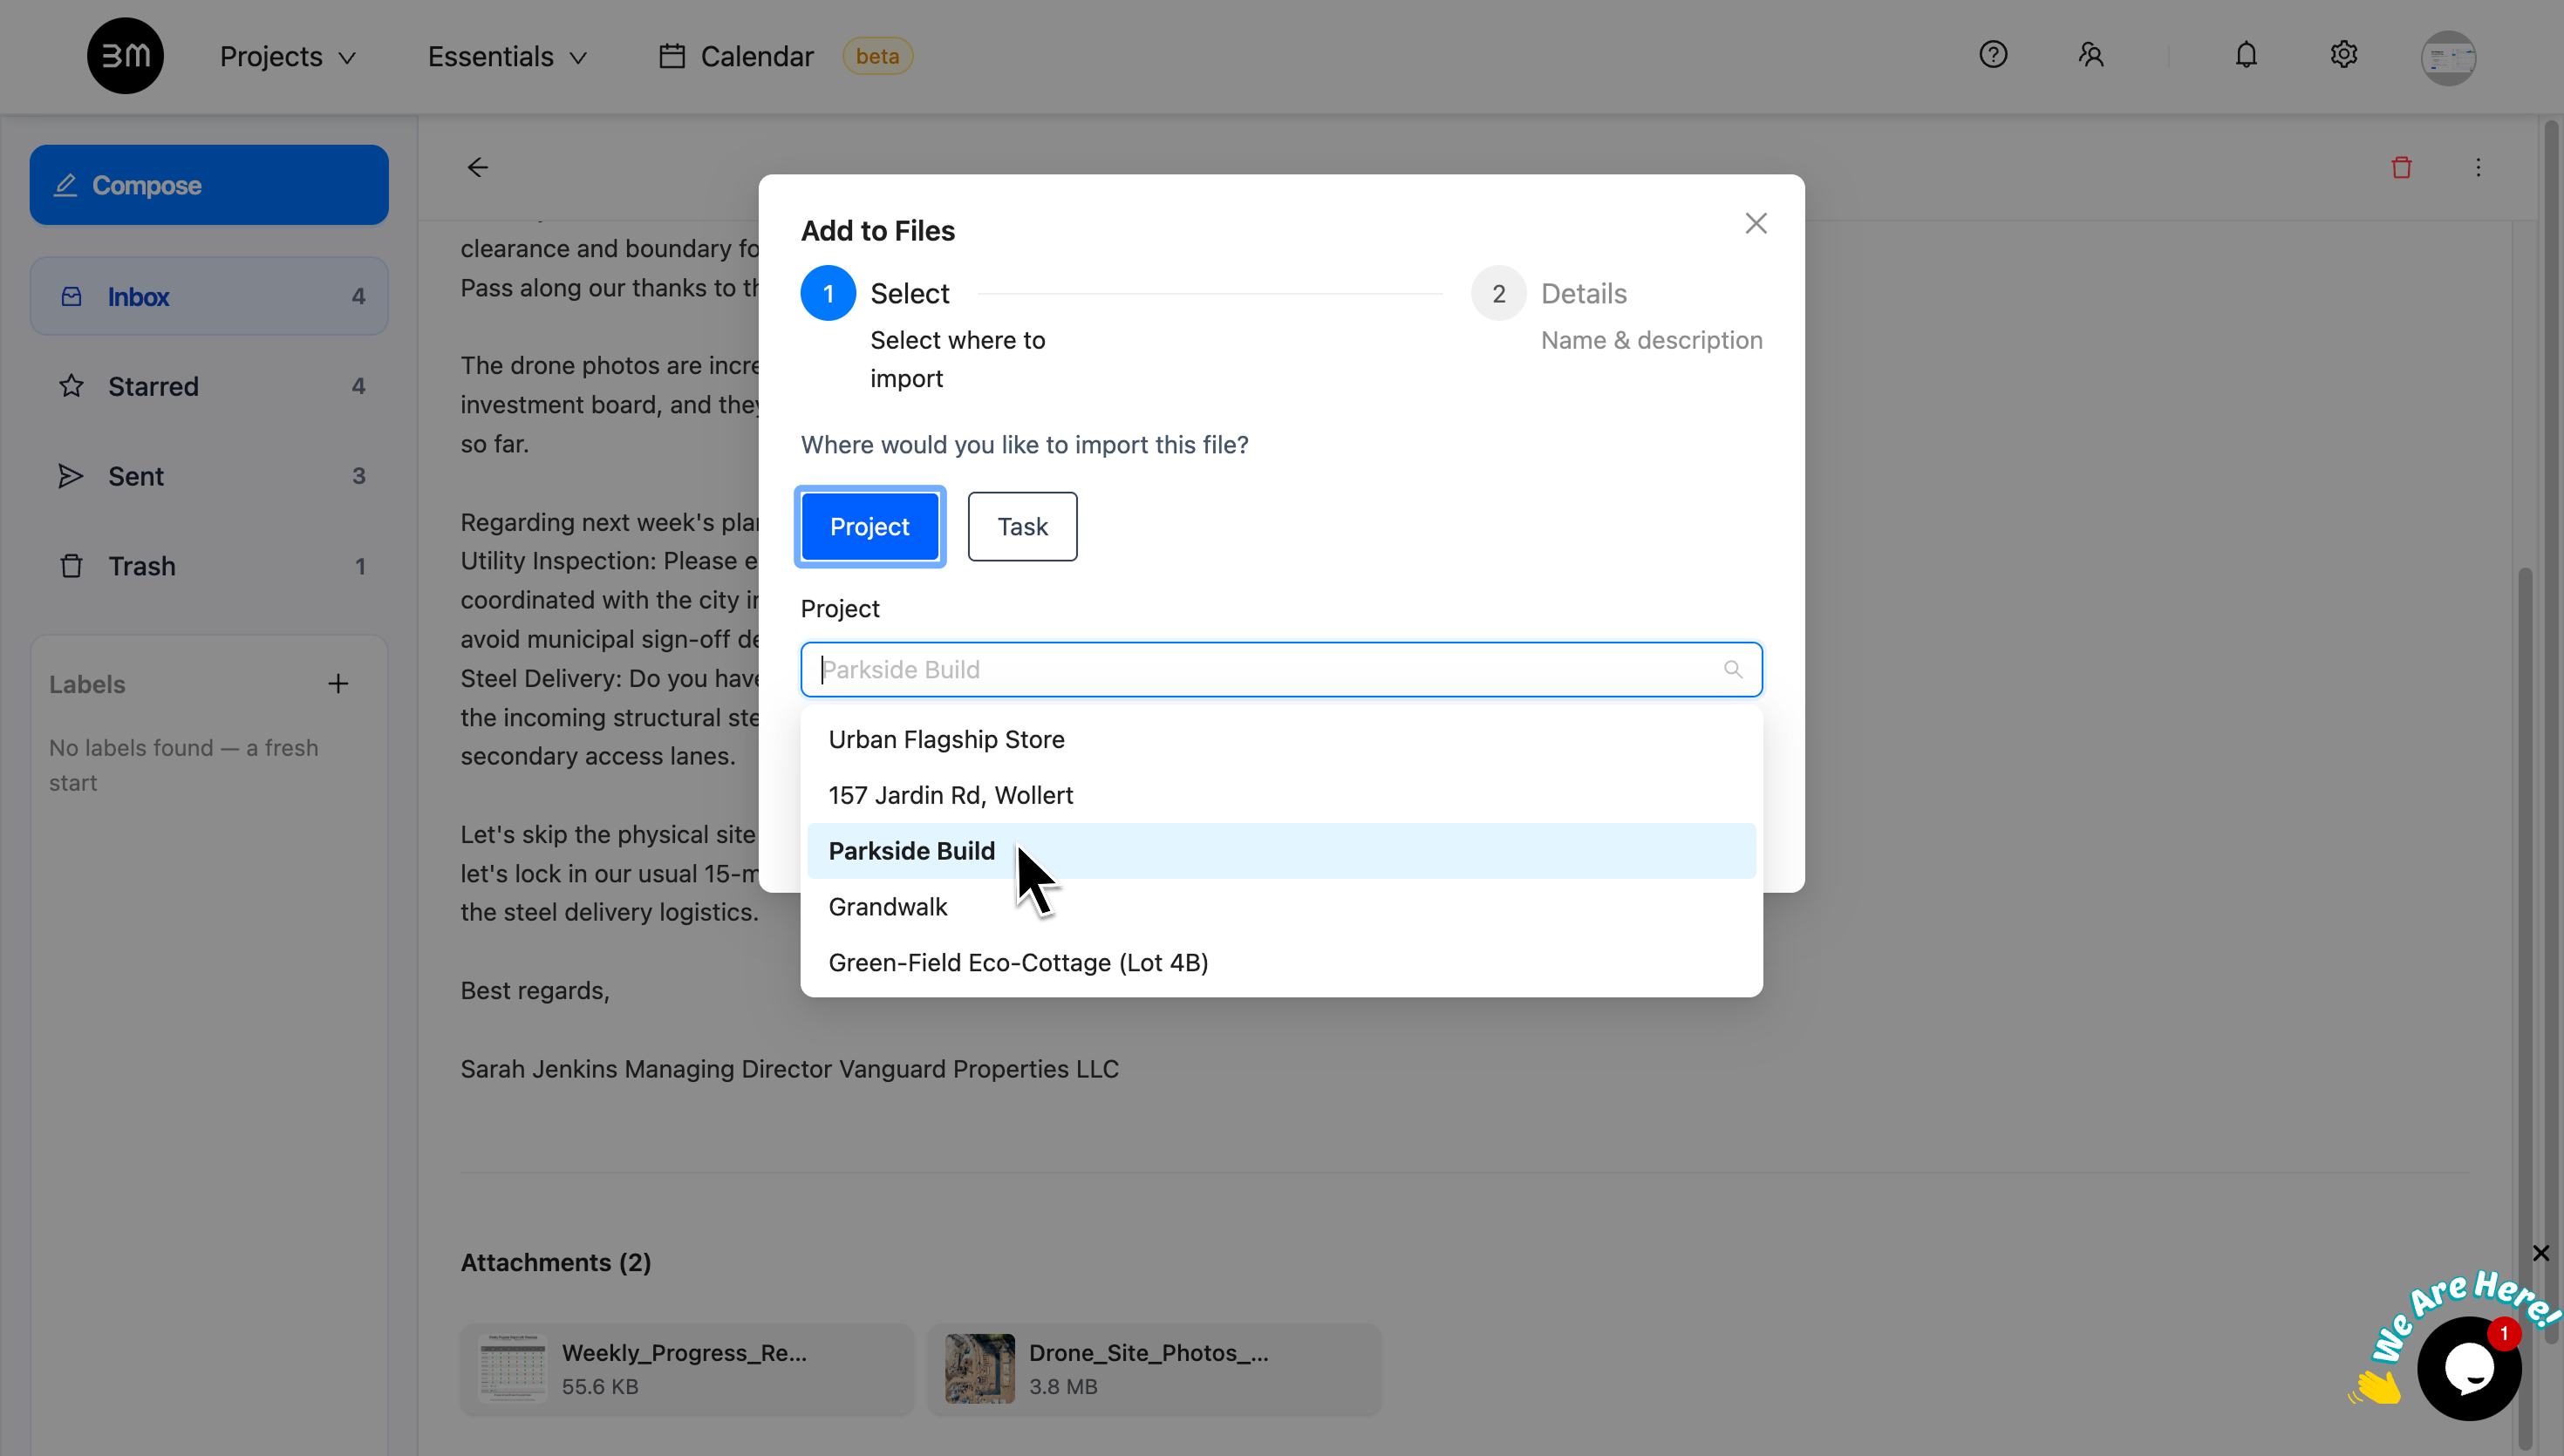
3. Choose the destination
In the Import from Email pop-up window, specify exactly where the files should be saved : either a Project or a specific Task.
To import to a Project:
- Select Project.
- Use the dropdown menu to search for or select the specific Buildmate project (e.g., “Parkside Build”) that will receive these files.
To import to a Task:
- Select Task.
- Use the dropdown menu to search for or select the specific task (e.g., “Appliance fit off”).
4. Add File details and submit
Before completing the Import, you can adjust the file details for better organization within your project.
- Edit the Title (this is how the file name will appear).
- Add a brief Description (optional) to provide context for your team.
- Click on Submit to import.

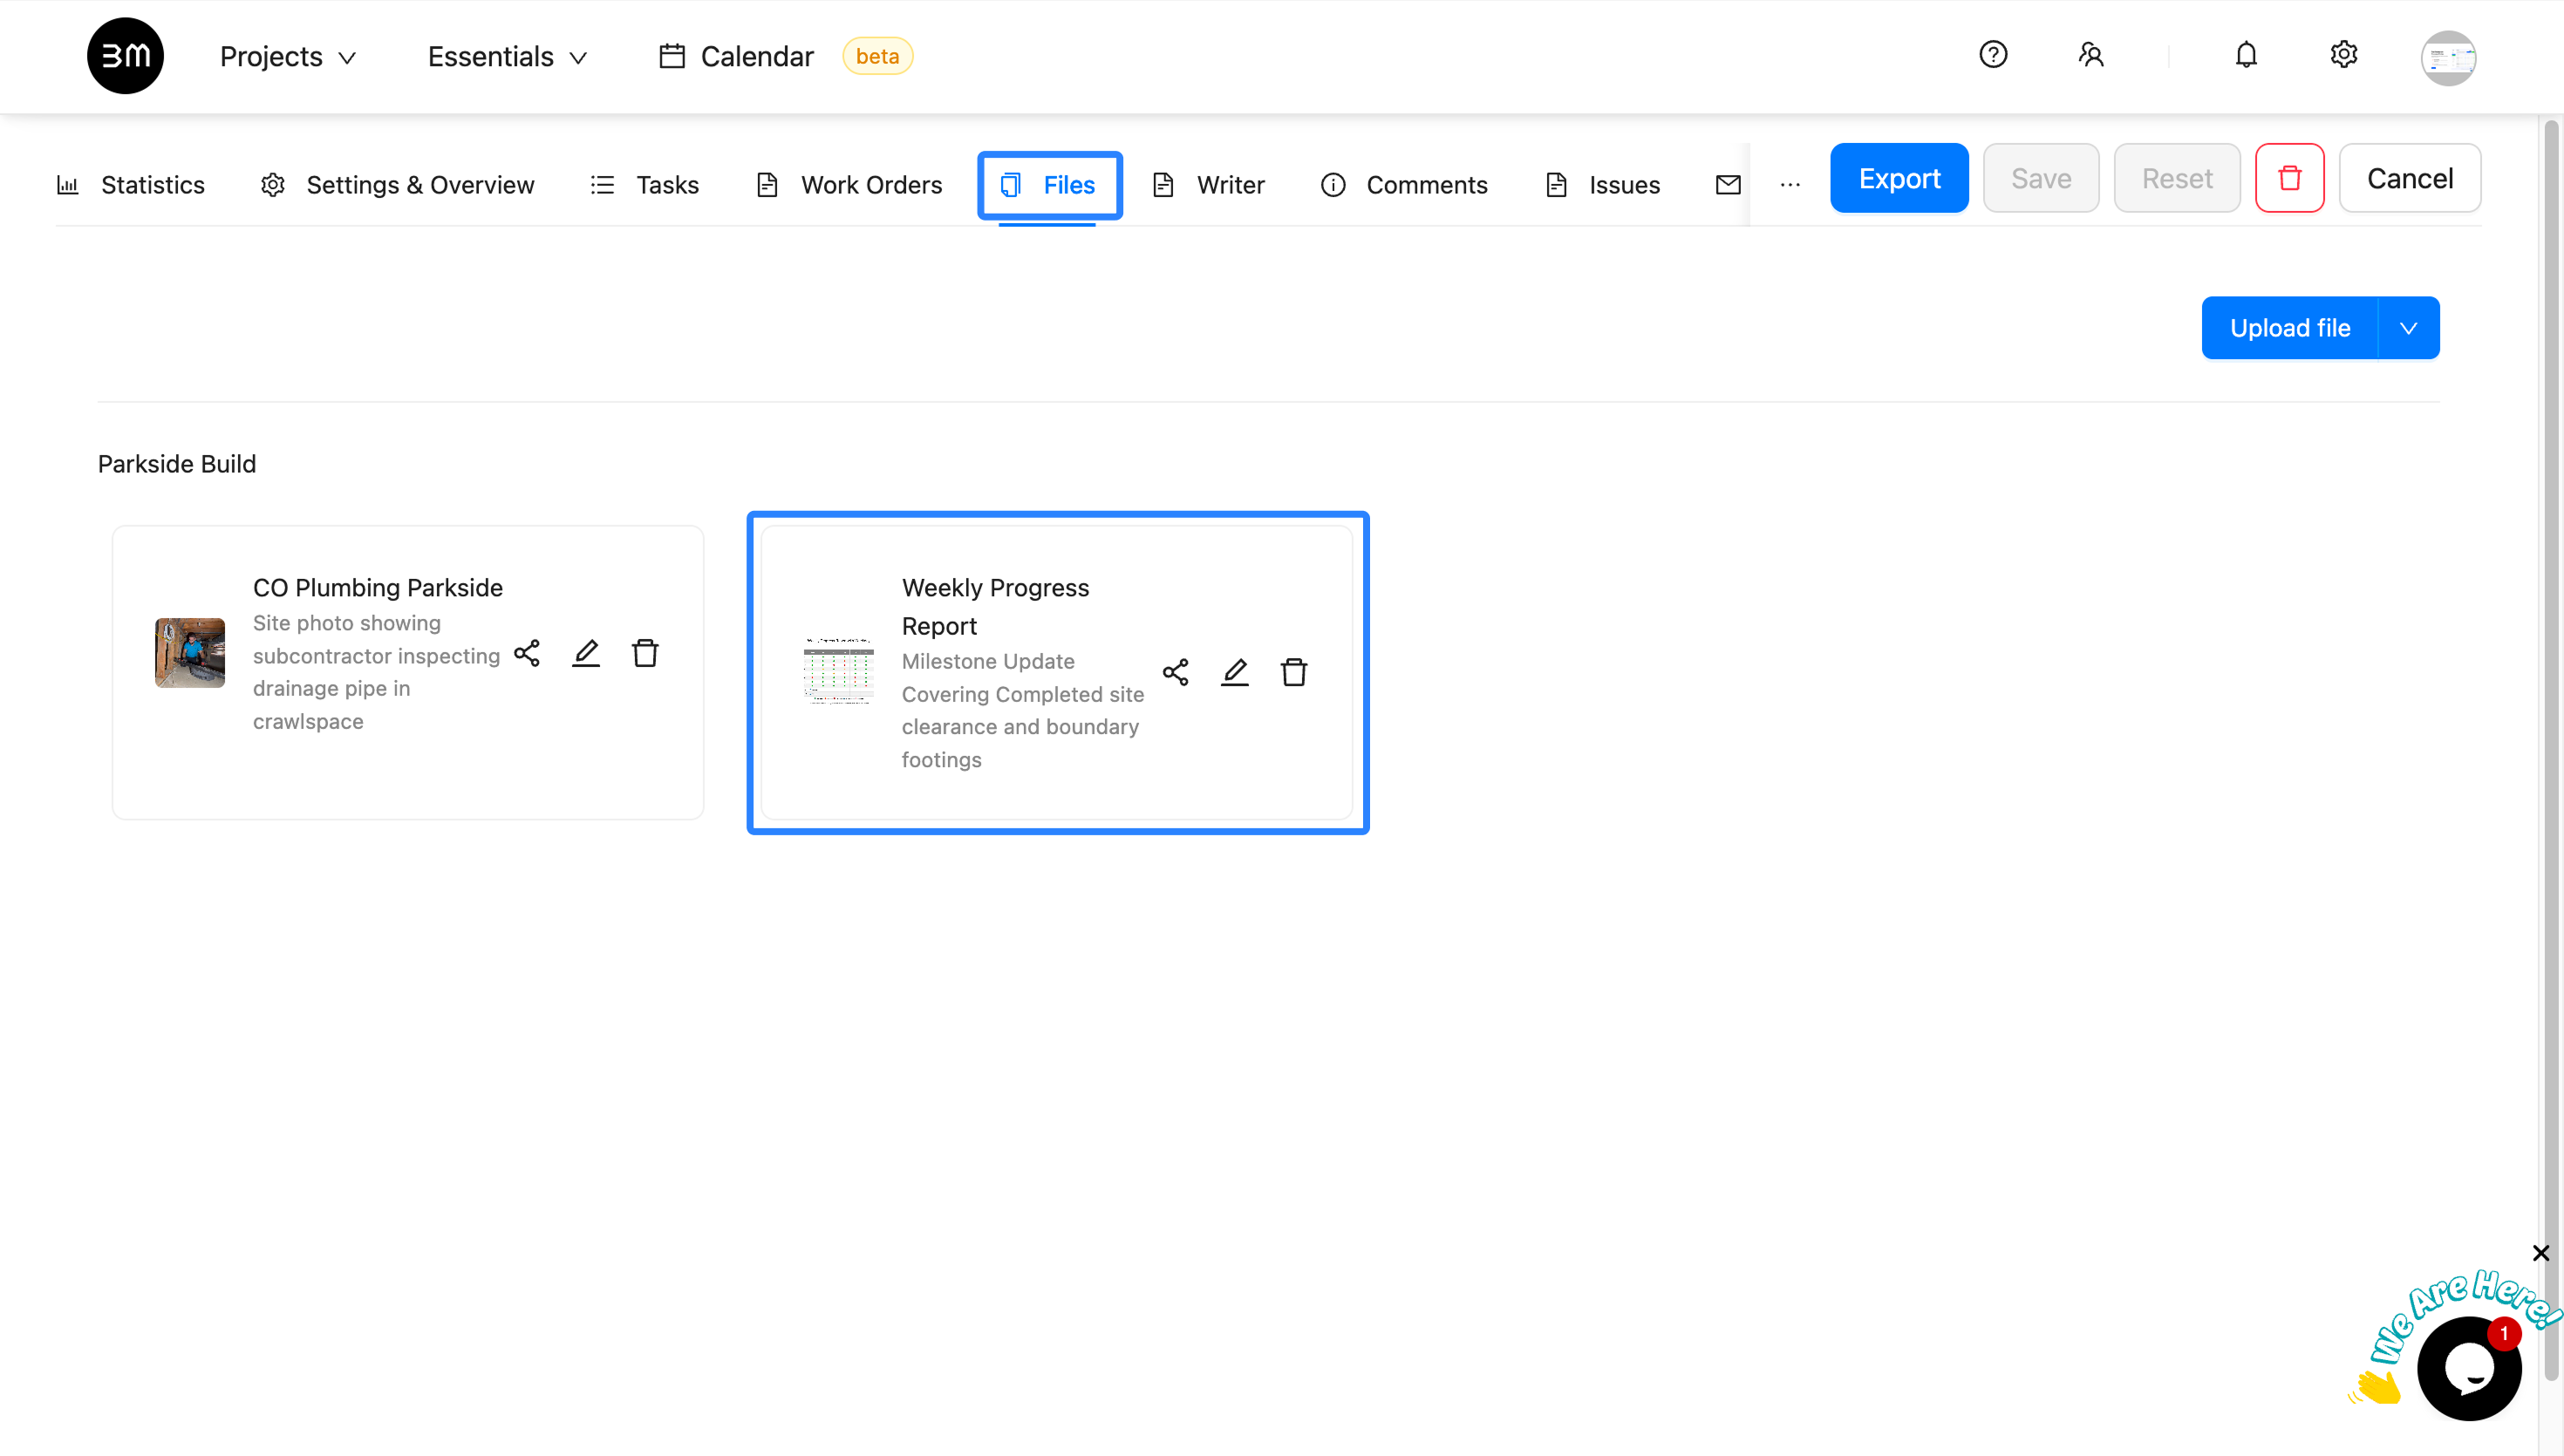
5. File import completed
Verify the import by navigating to the destination Project or Task and checking the Files section for your new documents.
Your essential email documents are now centralized within your Buildmate project files, making them easily accessible for your team.